Setting Up Outex On Your Camera
Just got your Outex waterproof camera housing gear ? Fantastic, now lets put it on your camera but wait you have questions. I have had a few people ask me for some tips to set up a camera for underwater photography or harsh environments; also to help stop any potential damage to Outex as you put it on.
So here are a few things you can do to get started, of course these are just my preferences so use them as you see fit. If you have any questions or have some more tips then drop me a message at the bottom of the post.
If you do not know what Outex is, its a soft easy to use protection barrier for your camera, can be used underwater to 30ft and stop sand, rain and other elements causing havoc with your prized electronics. However since you’re here you may already be in the know.
Flash Mount & Eye Cover
Getting the Entry Outex Kit on for the first time can take some time and there are a couple of things you can do to help to prevent stretching and /or damage to your camera.
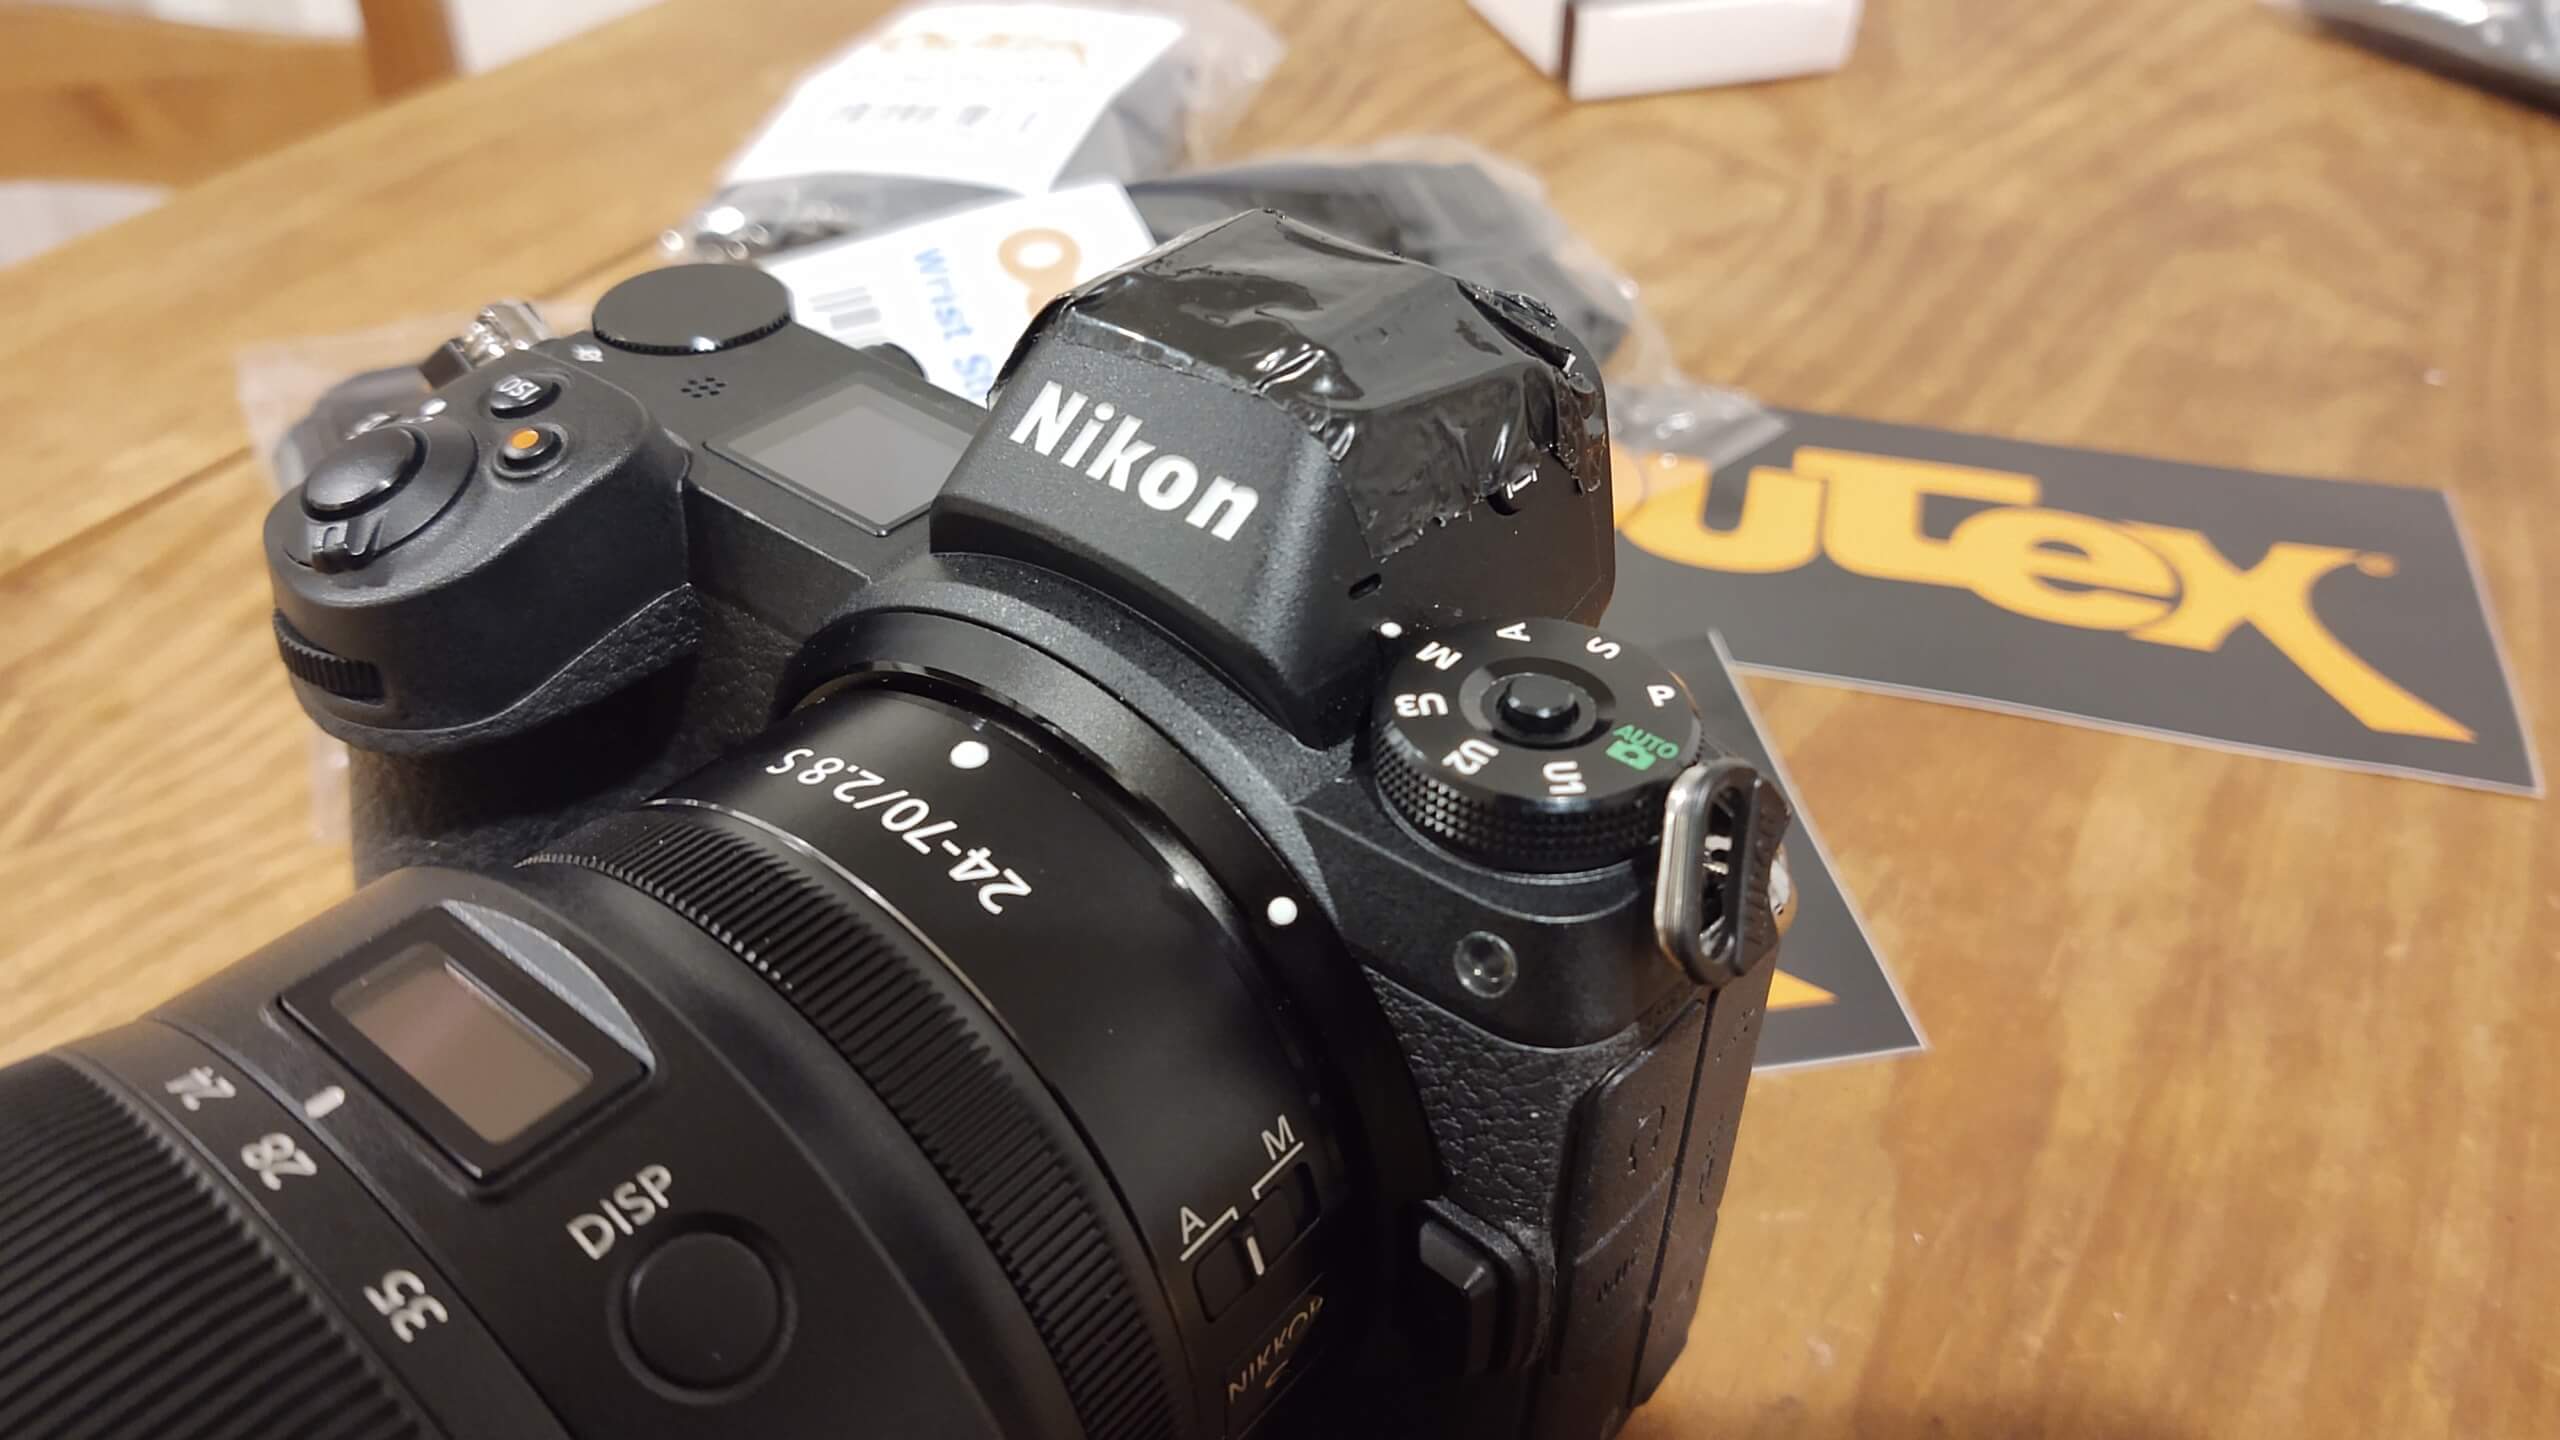
First cover your flash hot shoe with some tape, this stops the sharp edges of the hot shoe potentially catching the rubber as it goes over the top. As you take your Outex on and off this becomes less of a problem but for first-timers this is a great way to help. You can also do the same for the camera strap eyelets on the side of the camera, which helps tremendously.
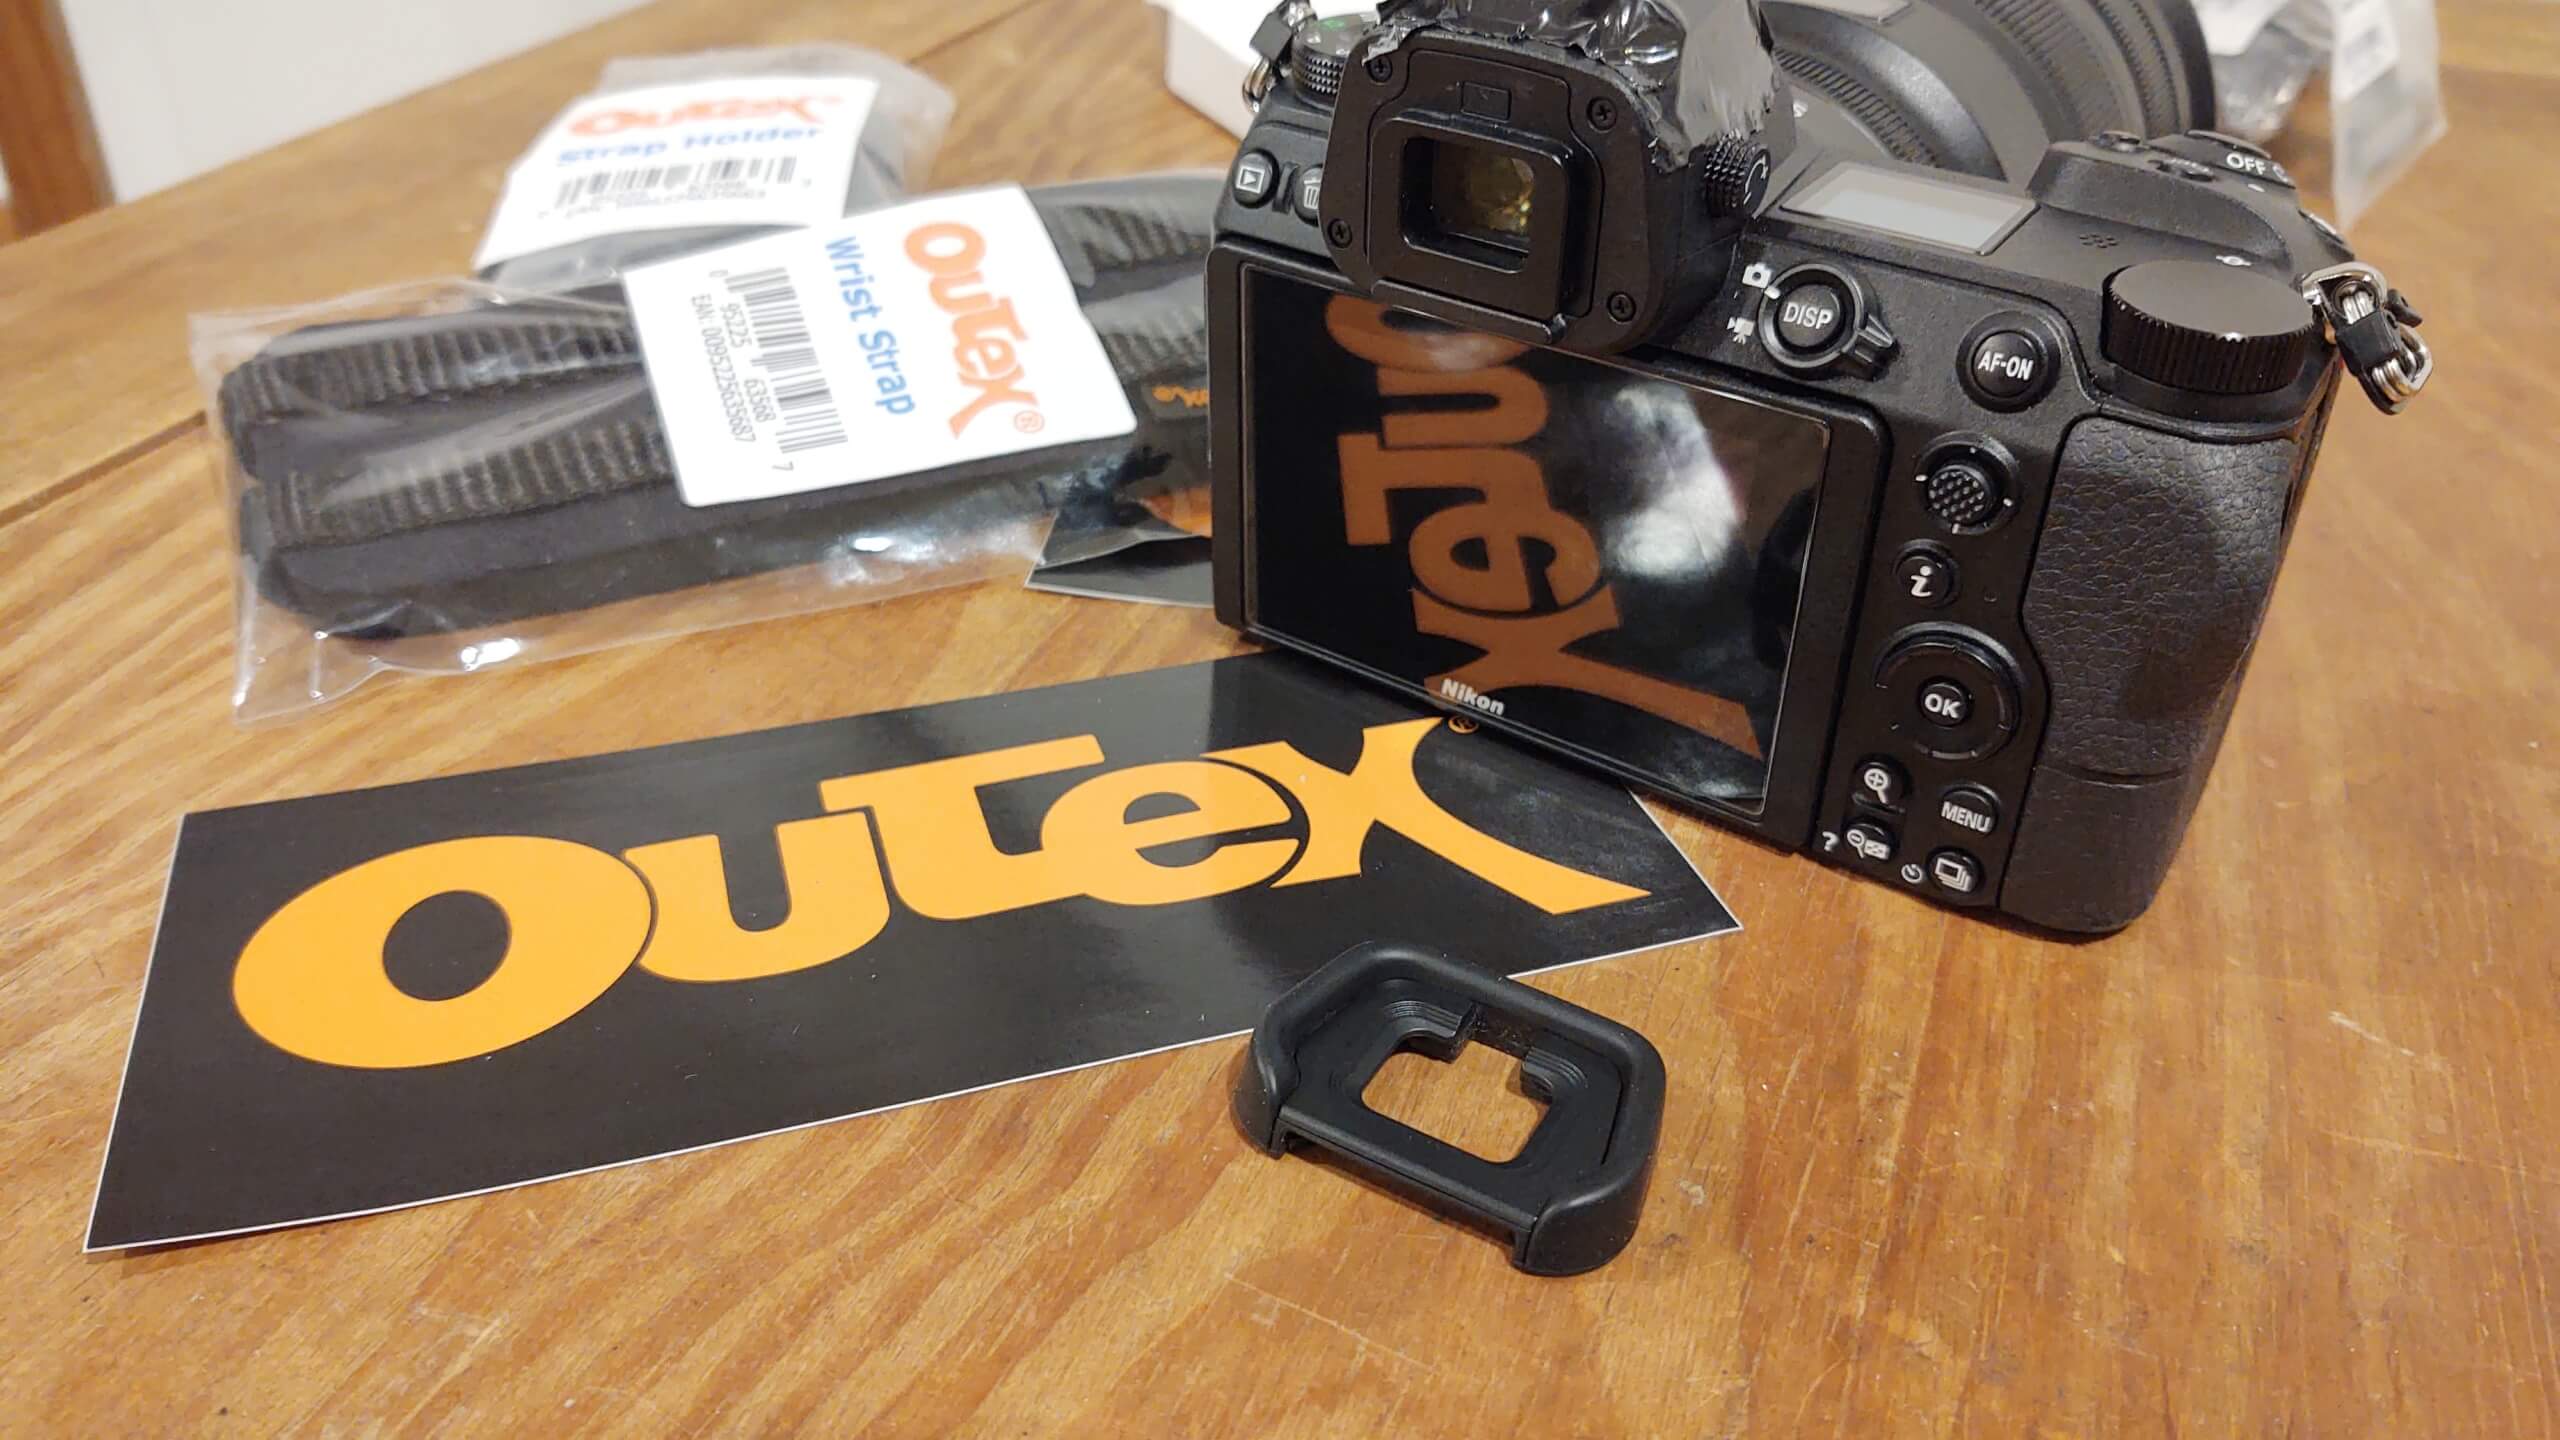
Second is remove the eye cap from the back of the camera, when putting on the Outex it may catch the rubber on your eye cap. If you have a Lumix S series, Nikon Z mirrorless or Sony Alpha you should remove them, I found the DSRL cameras to be a little more difficult in removing the eyecap, if you can I recommend you do.


CHECK SETTINGS
You will be using the rear screen, and pretty much all the time when you are submerged under water. If you are using the Outex for things like sandy conditions, high water environments then these tips settings would also apply.
Of course these are just preferences but I found the less time trying to turn something off with the Outex on your camera the better.
Turn off the “auto” eye sensor on the EVF, in some cases the camera will think the Outex cover is actually someone attempting to look through the eye piece. I had this issue on the Lumix S1R but to a lesser extent on the Nikon Z. You can add more air to the Outex to prevent this from happening but I found turning it off fixes the issue from ever occurring in the first place.
Turn off any touch screen features, I found them to be very hit and miss in their ability to work.
For underwater users I would recommend turning the rear screen brightness up to its most bright or close to it. You will be working through the Outex which may make viewing a little difficult if you have a screen with poor brightness. If you have the pro version with the rear glass then this isn’t so much of an issue at all.
EASY SCREEN HACK
Most of the time I am looking down onto the screen at a slight angle (this is especially the case when scuba diving). If this is your style too then you will want to stop having to pull the screen out each time as it naturally goes back against the camera. This applies mostly to the Entry Kit rather than the Pro Kit with the glass in the back.
To stop having to correct the screen you can tape a wine bottle cork behind the screen to stop it from flapping back into the camera. You can also cut it in half if you need a smaller pitch or you have less space cut as needed. Using a cork is also easy on the camera and won’t cause any damage if you are careful. If you find putting on the Outex difficult with the screen kicked out, you can always drop the cork into the Outex first and apply it afterwards. This does get a little tricky but stay with it, it works.
You can then push back with your thumbs on either side of the screen when you want to view the screen while you hold the body. It’s a super good way of not having to change your shooting style because of the cover.
MAP BUTTONS
Most modern cameras have a way to configure almost all the buttons how you want them. However you don’t really want to be diving into menus to make a quick change while you’re working with your Outex. Therefore it’s a great idea to map your most common buttons with functions you think you will need ahead of time. It’s the same logic I apply to any situation where I don’t have time to second guess a photo shoot. That could be in the water or in the air doing aerial photography for example. You can read more about the methods I use for underwater photography here including some settings that have worked for me in the past.
For example, for shooting some fast objects you may want to switch from high speed shooting to single frame without too much fuss, or you may want to keep continuous focus active and switch to video to capture some motion video.
Know before you go as they say.
Pro Kit Installation Video
Disclosure. I may receive small compensation from your purchase of any Outex gear using links from this website at no cost to you

